Umo Mobility App

How to Download & Setup the Umo App
Board quickly with WisGo in the Umo Mobility App™. The App will provide a more convenient way to pay for your ride. The App is completely self-sevre. It eliminates the need to purchase daily, 10-ride or monthly paper passes. With a WisGo account, you’ll be able to load money onto the Umo app and it will immediately be available for use. The basic app set-up is below.
- Download the app from the Apple App Store or Google Pay Store, click on the applicable store logo on this page.
- Choose WisGo as your Location
- Create an account on the Umo app to register your mobile device. Please use an email address to create your account.
- Your Umo app account is successfully created – you’re now able to plan your trip, buy your fare and go!
Click here for step by step Umo Mobility App download and setup instructions.
How it Works

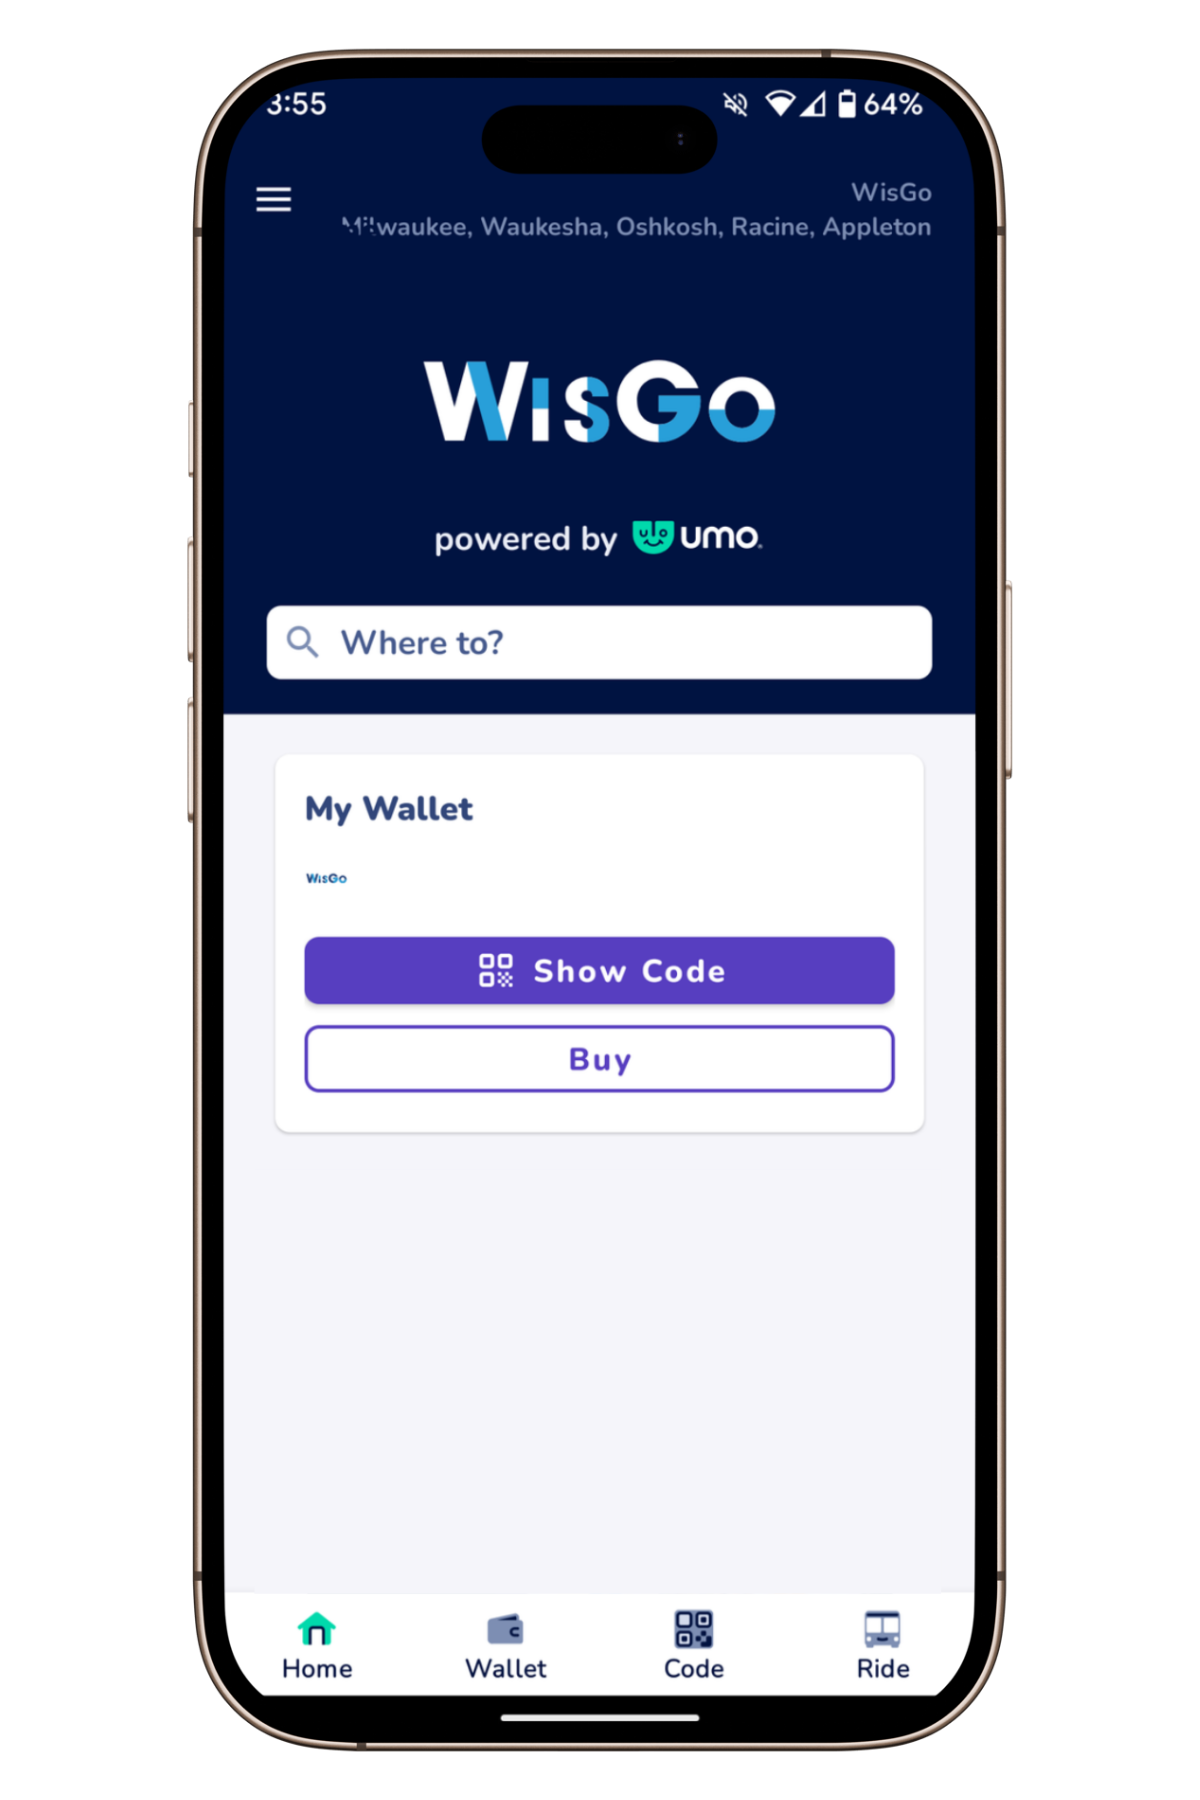
Scan every time you board: When you board a Valley Transit bus, the WisGo validator will be to your right near the farebox. From the app, select “show code” and hold the QR code in your app to the validator for a few seconds. Your phone screen needs to face the validator window. You will hear a happy chime and green light if your app is accepted and a buzz and a red light if your app is not accepted.

Good for 90 minutes: After you scan on your first bus, a free 90-minute transfer will begin. When you scan to board your next bus within the 90 minutes, your ride is free. Remember to scan every time you board — the more you scan, the more you’ll save!

Fare Capping:If you scan again after 90 minutes, you’ll be charged for a second fare and you’ll automatically earn a daily fare cap for that day — which means you can ride as much as you want for the rest of the same service day. Just scan and no further charges will be made to your account for the day. In addition to the daily cap, Valley Transit also offers a monthly cap. Once you’ve reached the monthly cap within a calendar month, the remaining days in that month are free.
How to Load Value to Your App Wallet
- From the main screen of the Umo App, tap the Wallet icon on the bottom of the screen.
- On the My Wallet screen, select Buy then Add Money.
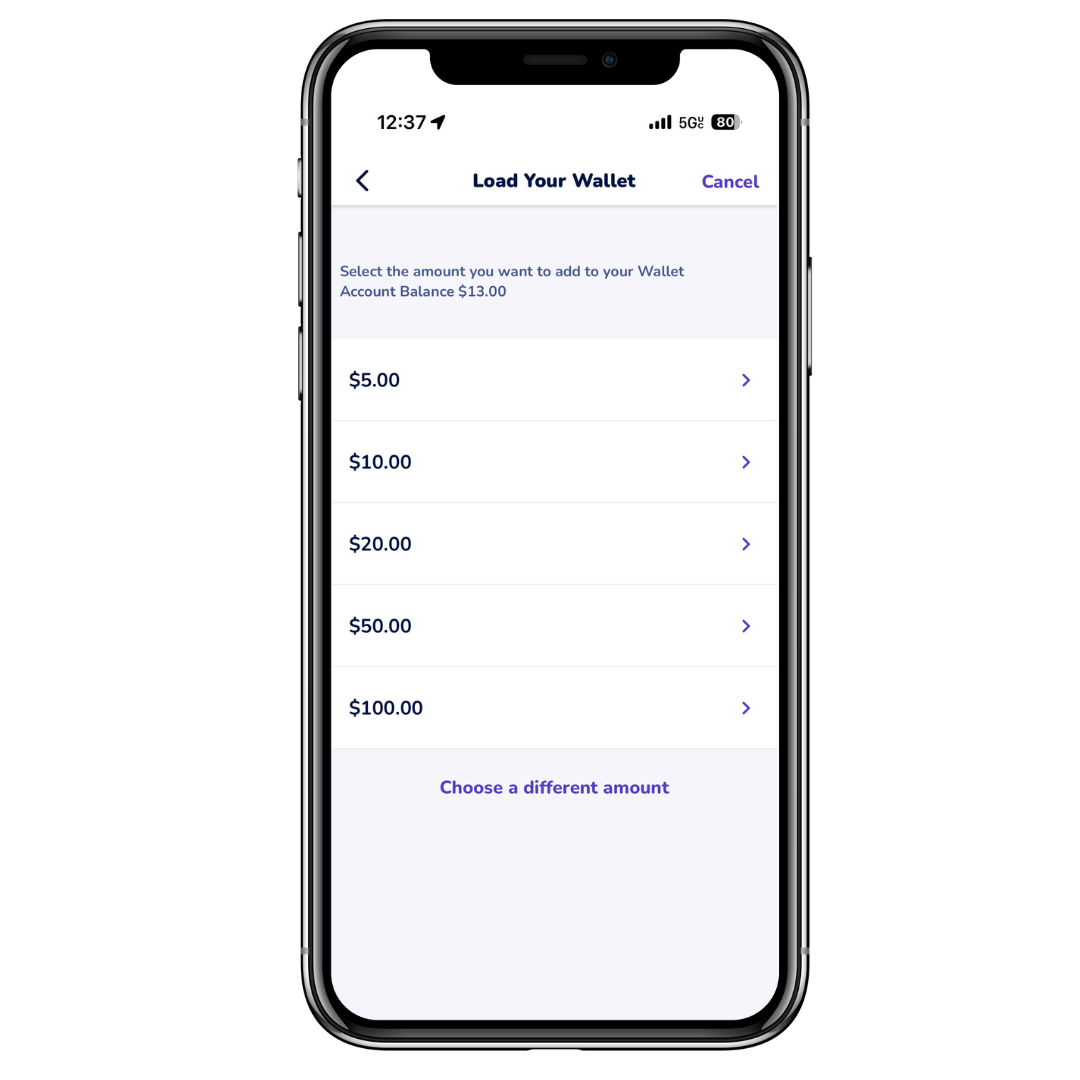
- On the Select Amount screen, select the appropriate cash balance amount you want to add. Tip: You can also tap I want a different amount to add a custom amount.
- On the Review Purchase screen, tap Purchase.
- On the Payment Method screen, enter your payment method information.
- Once you have entered your payment details, tap Continue.
- The Umo App confirms your cash balance purchase, and appears in the Balance section of your Wallet. You are ready to board!

Other Umo App Features
Plan Your Trip
The Umo App has a trip planning feature. Click on “Ride” in the bottom right corner. Enter a destination in the “Where to?” field. Select your desired trip option. We also suggest turning on your phone’s location services, so the app recognizes your current location.
Track Your Bus
The Umo App provides real-time bus arrival info after you select a trip.
View Your Ride History
Under the main menu, tap “View History.” This will provide you ride history to view your trips, along with fare payments, transfers or free rides earned due to fare capping.
FAQs
What is the Umo Mobility App?
The Umo Mobility App is a fare payment app designed to make riding Valley Transit buses more convenient. It allows you to pay your fare via a digital wallet and enjoy benefits like daily and monthly fare caps. After value is added within the App’s wallet, tap on “Show Code” and scan code at the onboard reader. The App is completely self-serve and eliminates the need to buy a paper pass or ticket.
How do I download and set up the Umo Mobility app?
To get started:
- Download the Umo Mobility App from the Apple App Store or Google Play Store. Direct links to each store are provided on this page.
- Choose “WisGo” as your location.
- Create an account using your email address.
- Once set up, you can load funds to your wallet and start riding!
Does the Umo App work if I lose cell service when riding?
You will need cell service or wifi to load value into your wallet. Once your wallet is full, the App will work without cell service when boarding.
How do I switch from WisGo Card to the Umo Mobility App to pay my fare?
When you are ready to switch, download the WisGo app. Links to the download can be found on the top of this page. On the “Welcome! Let’s get going…” screen, there is an option called “Create an account with my card.” Select this option and follow the onscreen directions. This will transfer your current account info and any stored value over to a new Umo Mobility App account. After you transition to the App, your card is permanently expired and no longer useful. The sign up process will provide a warning about this. You would not want to use both a card and an App. They are essentially different accounts and you will lose the full benefit of fare capping. Only use one to ride.
Can I use a WisGo Card and the Umo App to pay fares?
No. Riders should choose one type of fare payment (card or app). The system is account-based, so using both a card and the app is essentially 2 accounts, but they are not linked. This means you will lose the full fare capping benefit.


